How to Install Banana Plugs on Your Speaker Wire
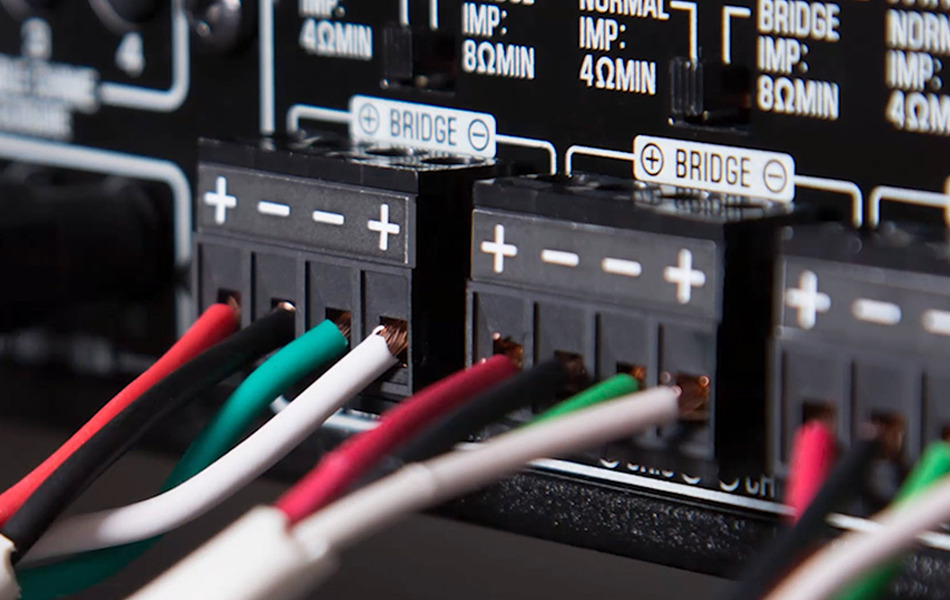
Banana plugs are a neat and easy answer to the mess behind your receiver.
If you’re a neat freak (it’s OK to admit it), the humble banana plug is your friend. So named for its resemblance to a favorite source of potassium and pratfalls, the banana plug is used to finish off the exposed ends of speaker wire and make them easier to plug into your receiver or speakers. Although it takes a little time to install them, they make things easier if you plan to connect and disconnect your speaker wires often. They also make for a much cleaner and more professional look than the exposed end of a speaker wire hanging out of the back of your receiver.
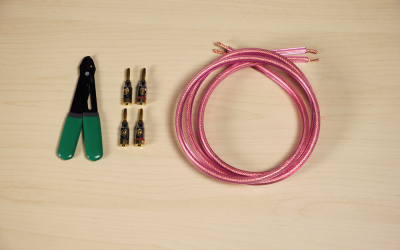
Installing banana plugs is simple. Here’s what you’ll need:
- Speaker wire (enough to go from your receiver to your speakers)
- Banana plugs (two for each end of each wire)
- Wire stripper
Before you begin, be sure to power off your receiver.
- Speaker wire (enough to go from your receiver to your speakers)
- Banana plugs (two for each end of each wire)
- Wire stripper
Before you begin, be sure to power off your receiver.
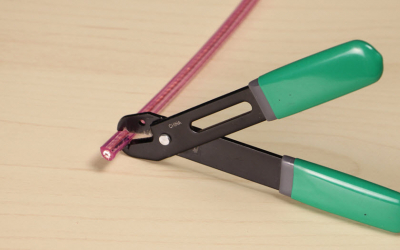
1. Use the wire strippers to strip off 1/4" of the speaker wire insulation.
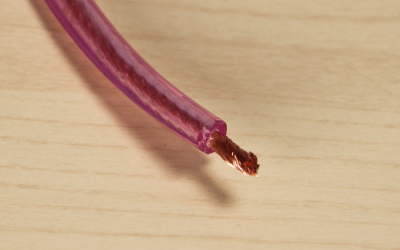
2. Twist the ends of the exposed copper wire so that the strands stay together.
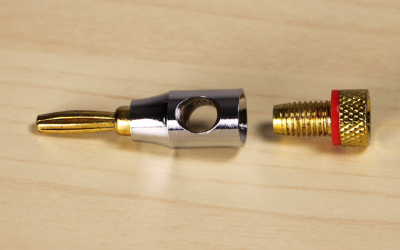
3. Unscrew the bottom of the banana plug so that the hole is open.
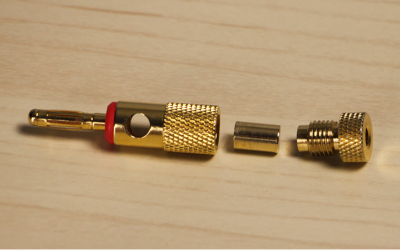
There are different types of banana plugs, but they all basically have a hole into which you insert the wire and a screw that you tighten to hold the wire in place.
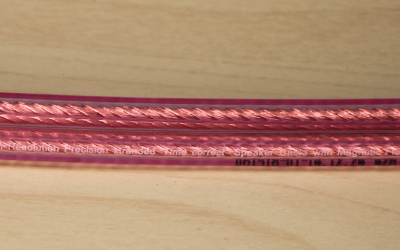
Let’s talk about convention for a minute. Some speaker wire pairs consist of a black wire and a red wire. In other speaker wires, if you look closely, you’ll see that one wire of each pair has writing on it. The red wire or the wire with writing on it is the positive wire. There are other methods of indicating the positive wire. The important thing is to connect the positive wire to the red terminals on your receiver and the red terminals on your speakers.
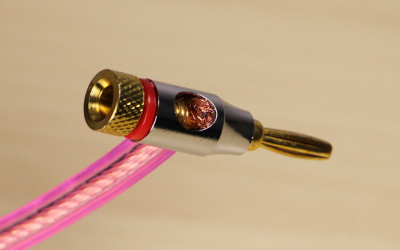
4. Insert the twisted wire into the hole.
5. Screw the bottom of the banana plug in so that it holds the wire tightly.
5. Screw the bottom of the banana plug in so that it holds the wire tightly.
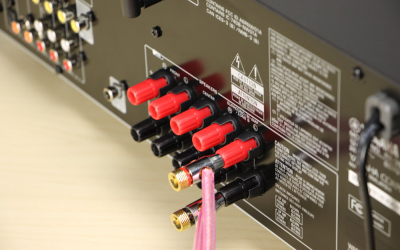
6. Insert the red banana plug into the appropriate red jack on the receiver.
7. Repeat this process for the negative (black) speaker wire, inserting it into the black jack on the receiver.
7. Repeat this process for the negative (black) speaker wire, inserting it into the black jack on the receiver.
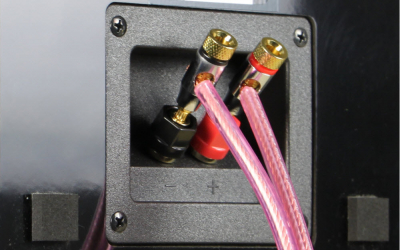
8. To connect the speaker wire to your speakers, insert the red banana into the red binding post on your speaker and the black banana into the black binding post.
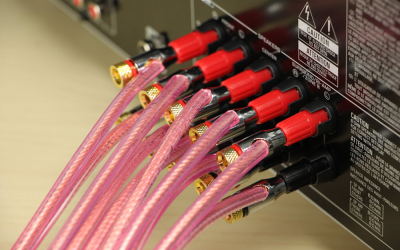
Now you’re ready to power on your receiver and adjust the settings - and you won’t have to cringe when you look behind it!


